

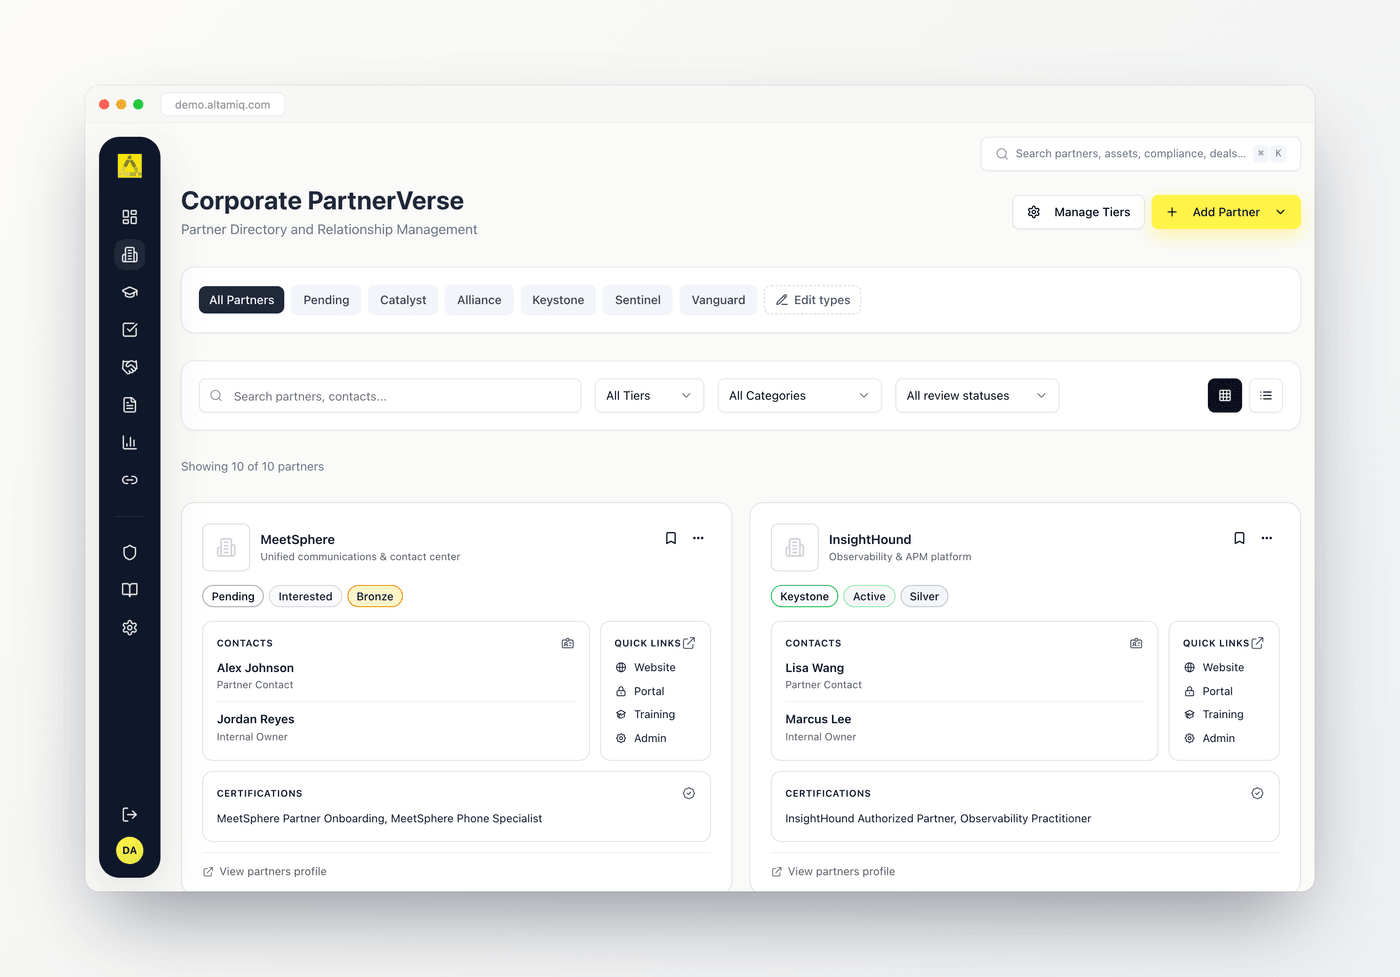
The Corporate PartnerVerse grid view with partner type pills and filters
Who can do what. Admins can do everything here, including deleting partners, tiers, and partner types. Managers can create and edit partners, manage tiers, and edit partner types, but they cannot delete partners. Viewers have read-only access: they can browse, search, filter, and open profiles, but the Add, edit, and delete controls won’t appear for them.
Two ways to view partners
A pair of buttons on the right side of the filter bar switches how the directory is laid out. Your choice applies instantly and only changes the display, never the underlying data.Grid view
The default. Each partner is a rich card showing its logo, name, primary offering, type, status, and tier badges, plus quick links (Website, Portal, Training, Admin), key contacts, and any certifications. Use the bookmark icon to pin a partner, or the three-dot menu to jump to that partner’s Profile, Notes, Certifications, Compliance, Assets, or Strategy.
Table view
A dense, scannable list. Columns cover Partner Type, Partner (with inline links), Tier, Status, CRM Link, and Assigned Owner. In table view you can change a partner’s tier right from the row using the tier dropdown, without opening the full record.
Search and filter
Everything you need to narrow the list sits in two bars near the top.Search
Type in the search box (placeholder “Search partners, contacts…”) to match on a partner’s name, its point-of-contact name, or its internal owner. Results update as you type. The demo workspace includes sample partners like MeetSphere, InsightHound, NimbusCloud, AtlasCloud, and FedStack Cloud, so you can try a search such as “cloud” to see it in action.Filter by partner type
Just below the header is a row of type pills: All Partners, then Pending, Catalyst, Alliance, Keystone, Sentinel, and Vanguard (plus any custom types your team has added). Click a pill to show only partners of that type; click All Partners to clear it. Hover any pill to see a short description of what that type means.Filter by tier, category, and review status
Three dropdowns in the filter bar let you slice the list further, and they stack together with search and the type pills:All Tiers
All Tiers
Show only partners at a chosen tier. The list of tiers here is exactly the set your team has configured in Manage Tiers, so it always matches your program.
All Categories
All Categories
Filter by focus area: Digital Modernization, Security, Software Engineering, or Project Management. A partner matches if it carries that category tag.
Review Status
Review Status
Keep partner records current by filtering on review dates. Choose Overdue (next review passed), Due soon (next 30 days), Recently reviewed (last 30 days), or Never reviewed to focus on the partners that need attention.
Understanding partner types
Every partner has a type that describes the kind of relationship. Hovering a type pill shows the same plain-language hint described below.Pending
Not yet classified. Assign Catalyst, Alliance, Keystone, Sentinel, or Vanguard once you know how the relationship will work.
Catalyst
A Channel or Software Partner. Catalyst partners get extra fields for program details, an internal team, portals, and fees.
Alliance
A referral-only partner.
Keystone
A white-label fulfillment partner.
Sentinel
A co-delivery strategic partner.
Vanguard
A GovCon teaming partner.
Understanding tiers
Tiers rank partners within your program, for example Bronze, Silver, Gold, and Platinum. Each tier has a name, a color used for its badge, and an order that controls how tiers sort in lists and dropdowns. Tiers are fully configurable, so your set may differ from the examples here. You’ll see a partner’s tier as a colored badge on its card and in the table, and you can filter the whole directory by tier.Adding a partner
1
Open the Add Partner menu
Click Add Partner in the top-right corner. Because the type shapes the form, the button opens a menu of every available partner type. Pick the one that fits, for example Catalyst or Alliance.
2
Fill in the identity details
The form always starts with Partner Identity. Partner Name, Partner Type, and Partnership Status are required. You can also add a logo URL, website, location, and a CRM link.
3
Complete the type-specific sections
The form adapts to the type you chose. Catalyst partners show extra sections for program details, internal team, portals and resources, fees, notes, and reviews. Alliance, Keystone, Sentinel, and Vanguard partners show a Strategic Context section for value proposition, teaming rationale, capabilities, and past performance. A Compliance & Risk Assessment section and an Attachments section appear for every type.
4
Add tags as you go
For list-style fields like category tags, key capabilities, certifications, past performance, and competing products, type a value and click Add to attach it as a chip. Click the small x on a chip to remove it.
5
Create the partner
Click Create Partner to save. The new partner appears in the directory right away.
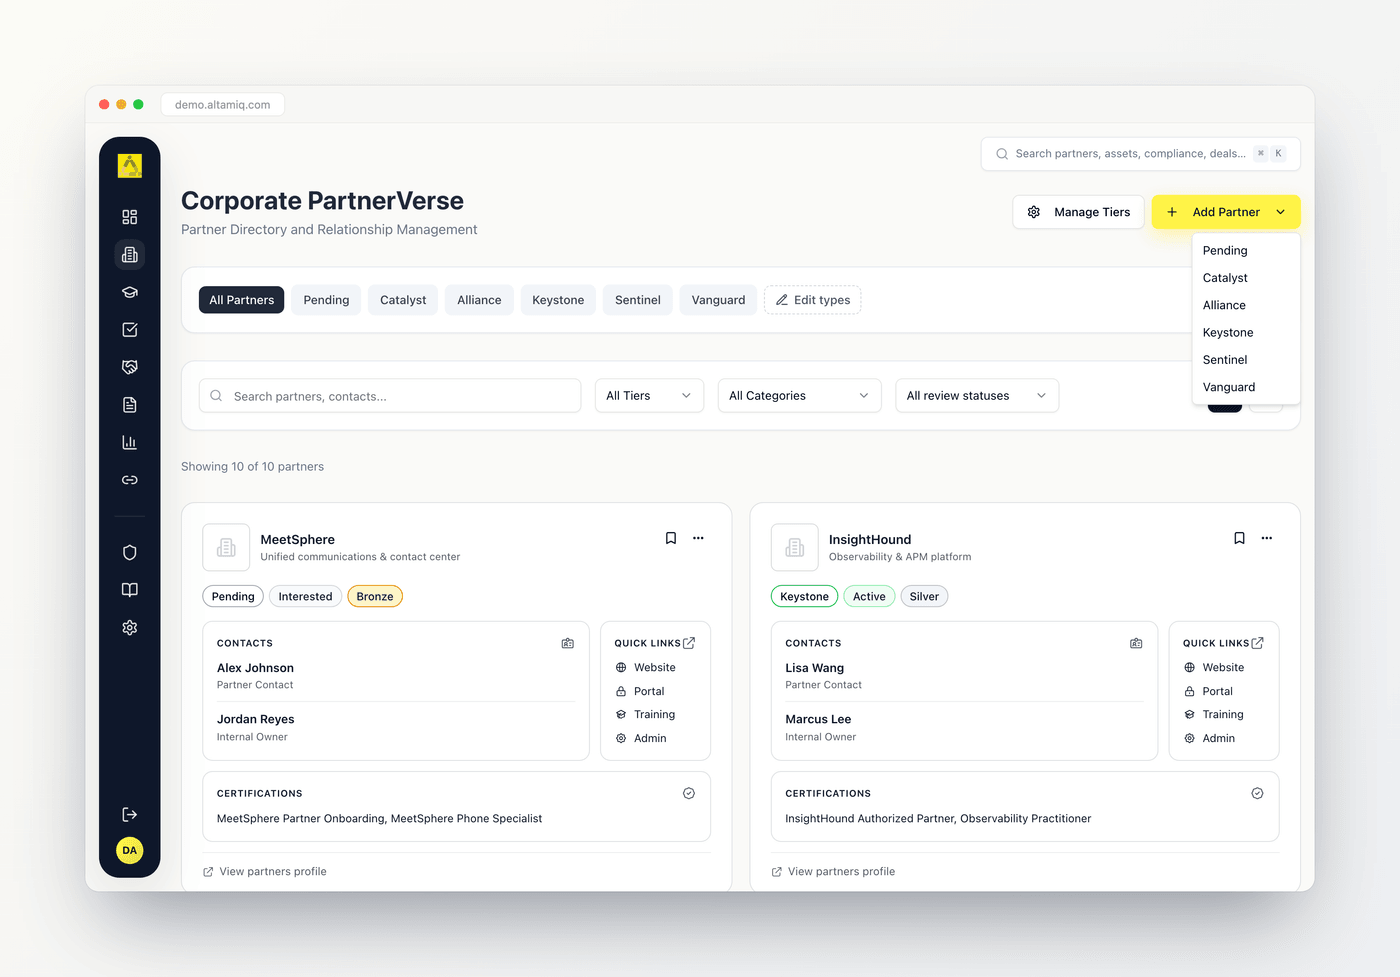
The Add Partner menu open, listing every partner type you can create
Editing a partner
To update an existing partner, open its three-dot menu (in grid view) or its row menu (in table view) and choose Edit Partner, or open the partner and edit from there. The same form opens pre-filled with the current details, and the button now reads Update Partner. In table view you can also change just the tier by using the tier dropdown directly in the row.Internal Notes are no longer edited from the partner form. When you edit an existing partner you’ll see a hint pointing you to the Notes tab on the partner profile, where a richer editor handles formatting and longer notes. Use the Go to Notes button to jump straight there.
Managing tiers
Click Manage Tiers (top-right) to open the tier manager. Here you can:- Add a tier by entering a name, choosing a color for its badge, and setting an order number, then clicking Add Tier.
- Edit a tier with the pencil icon, which loads it into the form so you can change its name, color, or order and click Update Tier.
- Delete a tier with the trash icon, after confirming.